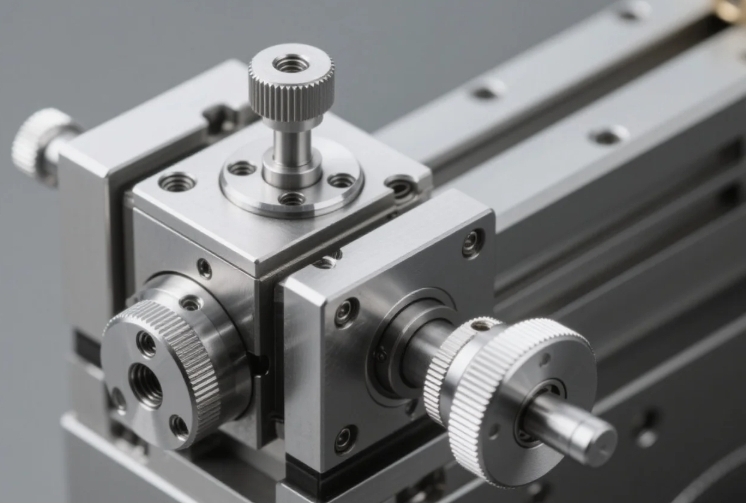
Customized CNC Solutions for High-Tolerance Optics & Precision Instruments
Imagine you’re designing a satellite lens or a surgical laser component. You need tolerances under ±1.5µm, exotic materials like Zerodur®, and a supplier who won’t force you to choose between speed and precision. At PFT, we get it. That’s why our custom CNC machining for high-tolerance optics isn’t just about cutting metal—it’s about enabling breakthroughs .
Why Precision Isn’t Optional in Optics & Instruments
In aerospace, medical tech, or semiconductor manufacturing, sub-micron inaccuracies cause system failures. A misaligned mirror in a space telescope or a flawed lens in an endoscope can cost millions. Our clients demand:
• Nanometer-level accuracy for chip fabrication optics
• Non-contact measurement to prevent delicate surface damage
• Custom geometries for bespoke R&D projects
That’s where our solutions shine.
How We Deliver: Your Factory’s Core Strengths
1. Advanced Equipment Built for Microscopic Precision
Our workshop runs 5-axis CNC machining centers with liquid-cooled spindles (±0.1°C thermal control) to eliminate tool drift during 48-hour cuts . For ultra-fine optics, we deploy:
• Deterministic polishing systems for surface roughness < 5Å
• 3D contour scanners to map lens curvature in real-time
• German-engineered OPTIMUM TC 62RC probes for tool calibration at ±0.5µm
2. Zero-Compromise Process Controls
We don’t just machine parts—we engineer reliability:
• AI-powered optical imaging: Detects subsurface flaws invisible to human inspectors .
• SPC (Statistical Process Control): Every batch generates automated reports tracking 65+ parameters (e.g., flatness, coaxiality) .
• Material science rigor: From titanium alloys to CVD silicon carbide, we’ve mastered stress-relieving heat treatments to prevent post-machining distortion .
3. Quality Control That Exceeds ISO 9001
Your surgical laser or satellite sensor deserves traceability down to the raw material lot:
• CMM + laser interferometry: Validates dimensions to ±0.8µm .
• Cleanroom assembly: Class 1000 environments for contamination-sensitive optics .
• Compliance documentation: Full GD&T reports, material certs, and 3D scan archives .
4. One-Stop Capabilities: From Prototypes to Volume Production
Whether you need 10 custom collimators or 10,000 precision instrument housings, our flexible cells handle:
• Optical components: Aspheric lenses, mirror substrates, prism assemblies
• Precision mechanical parts: Sensor mounts, actuator housings, micro-fluidic devices
• Materials mastery: Aluminum, brass, Invar®, fused silica, PEEK
5. After-Sales: Partnership Beyond Delivery
A cracked coating or an unexpected tolerance shift? Our support includes:
• 24/7 technical hotline with on-call engineers
• Free recalibration for legacy parts (up to 5 years post-delivery)
• Rapid-response prototyping: 72-hour turnaround for design adjustments
• Aerospace Client: Reduced satellite mirror alignment errors by 90% using our high-precision CNC optical grinding for SiC substrates. Result: 20% lighter payload, mission lifespan extended.
• Medical OEM: Eliminated post-sterilization distortion in endoscope barrels via our stress-relieved titanium machining. Result: 0.02% field failure rate.
Real-World Impact: Case Snapshots


Q:What’s your business scope?
A: OEM Service. Our business scope are CNC lathe processed, turning,stamping,etc.
Q.How to contact us ?
A:You can send inquiry of our products,it will be replied within 6 hours;And you can contact dirrectly with us through TM or WhatsApp, Skype as you like.
Q.What information should I give to you for inquiry?
A:If you have drawings or samples,pls feel free to send us,and tell us your special requirements such as material, tolerance, surface treatments and the amount you need,ect .
Q.What about the delivery day?
A: The delivery date is about 10-15 days after receipt of payment.
Q.What about the payment terms?
A: Generally EXW OR FOB Shenzhen 100% T/T in advance,and we can also consult accroding to your requirement.


